![Highland_logo_1millionmiles_Brandmark_White-1.png]](https://24210048.hs-sites.com/hs-fs/hubfs/Highland_logo_1millionmiles_Brandmark_White-1.png?width=40&height=40&name=Highland_logo_1millionmiles_Brandmark_White-1.png)
Start a Charging Session
During the charging process, the display will show the instructions and will signal different stages. When a user starts an operation, the display will show one of the following screens.
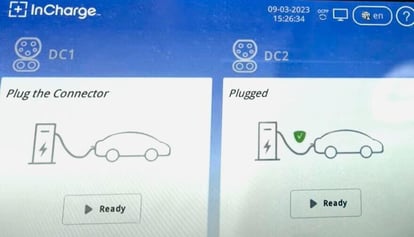
- Verify that the bus parking brake is on and the key is in the “Off” position. The bus can charge while on, when needed, for pre-heating or cooling
- Make sure the charger is powered on and available to charge
- Remove the connector from the holster on the charger
- Inspect the connector and the cable for debris or damage
- Open the charge port door on the bus, remove the dust cover, make sure the area is clean and free of dirt and debris
- Plug the connector into the charge port and listen for a "click" sound, indicating that the port is securely locked in place
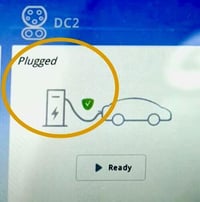
- Wait for the screen to indicate that the charger is properly plugged in
- Select the “Ready” button on the charger screen
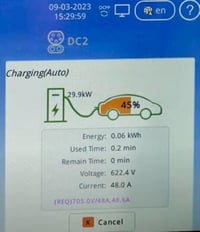
- Wait for the charging session to start. The screen will show charging details, including the current state of charge (SoC) of the battery in percentage and the amount of kWh power being delivered by the charger
- Before walking away, verify both the charger and bus charging indicators are active
End a Charging Session
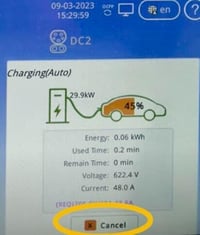
- Select the “Cancel” button on the screen to end the charging session
- Remove the connector from the charging port on the bus by pressing on the release button and return the connector to the holster on the charger
- Coil up the cord to prevent accidental damage. Never leave the connector out in the open or on the ground
For additional details on InCharge chargers, please refer to the InCharge Installation and Operations Manual