![Highland_logo_1millionmiles_Brandmark_White-1.png]](https://24210048.hs-sites.com/hs-fs/hubfs/Highland_logo_1millionmiles_Brandmark_White-1.png?width=40&height=40&name=Highland_logo_1millionmiles_Brandmark_White-1.png)
Start a Charging Session
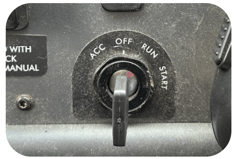
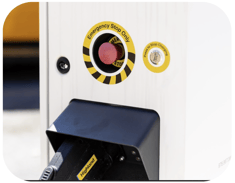

- Verify that the parking brake is on and the key is in the OFF position. Bus can charge while on, when needed for pre-heating or cooling
- Confirm the emergency stop - red button - is not pushed in
- Check the dispenser’s LED status. If the color is other than green or white, report to shop (refer to the LED codes guide for definitions)
Once the above steps are confirmed, proceed to connect the charger handle into the charging port on the bus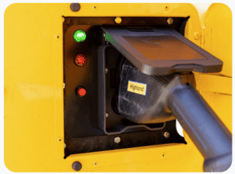
- Observe the dispenser's LED status (look for white blinking, or solid white if neighboring buses are already plugged in) and the bus's charging indicators to verify that the bus is successfully charging
End a Charging Session
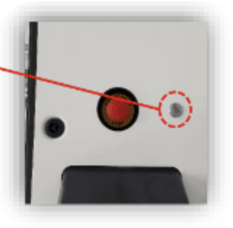
- Press the small silver “stop” button on the charger
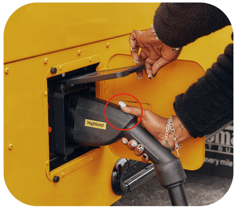
- Press the button on the charger handle and carefully remove the charger handle from the bus
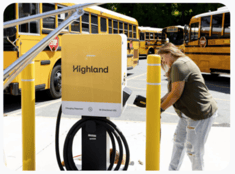
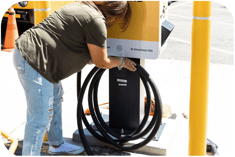
- Return the charger handle to the holster on the charger
- Coil up the cord
- Never leave the charging handle out in the open or on the ground
- Only press the red emergency button on the charger if there's an actual emergency
For additional details on Power Electronics Chargers, please refer to the Power Electronics Training EVSE guide.